This post is sponsored by Bing.
![]()

Summer is the perfect time to travel, even if it's just to your backyard. Last weekend, we even perched our tent in my son's bedroom so that he could have a special sleep over with his sister. Since then we've had camping on the brain. Staycations are always great on the budget, and here's an idea to up the imagination on your next adventure at home. I'm delighted to share my last (how can summer possibly be coming to a close?) Endless Summer Project for this season: an upcycled camping lantern.
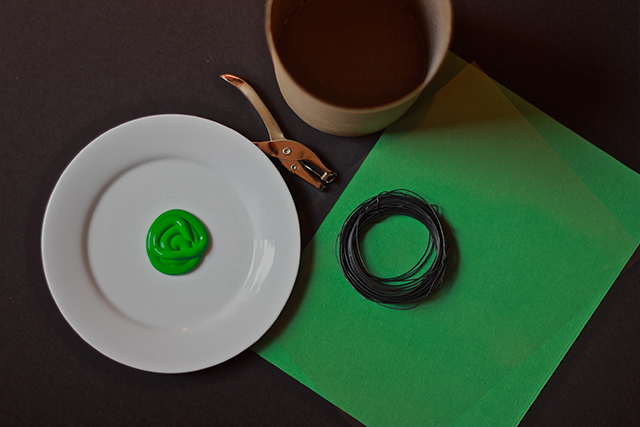
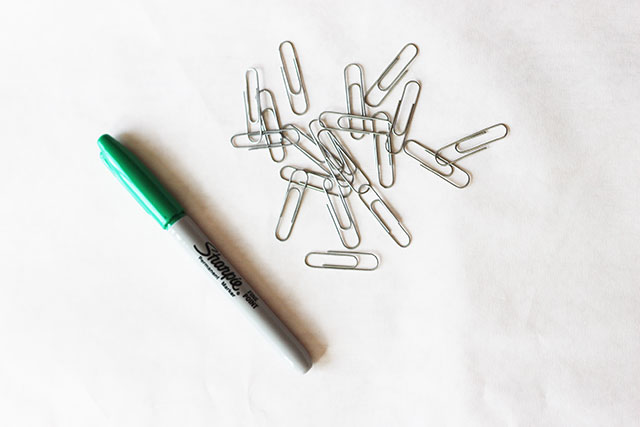
Using oatmeal containers that a friend had given to us for our crafting, we painted and doodled our way to a working camping lantern. To create, grab:
- A battery-operated candle (pull out a few from the Christmas stock)
- An oatmeal container with the wrapper and plastic ring around the top removed
- Acrylic or poster paint and paintbrush
- Wire, rope, or heavy string
- Transparency sheet
- Construction paper
1. Hole punch one hole on either side of the top of the canister.
2. Cut large rectangular holes on either side. This is an easy job for an X-Acto knife, but even child scissors can cut through the cardboard cylinders with some assistance.
3. Put little hands to work on painting. We chose campy green to make our lantern look like official camping gear.

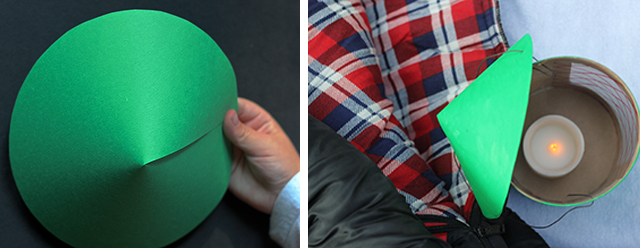
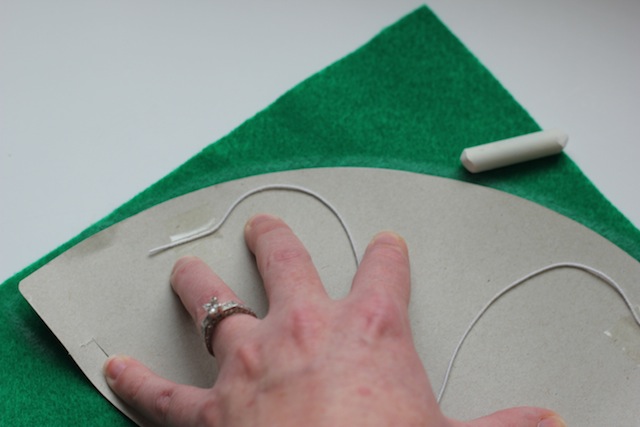
4. Cut a large circle out of the construction paper. Cut a line into the center. Overlap and glue the excess paper to form the cone top of the lantern.
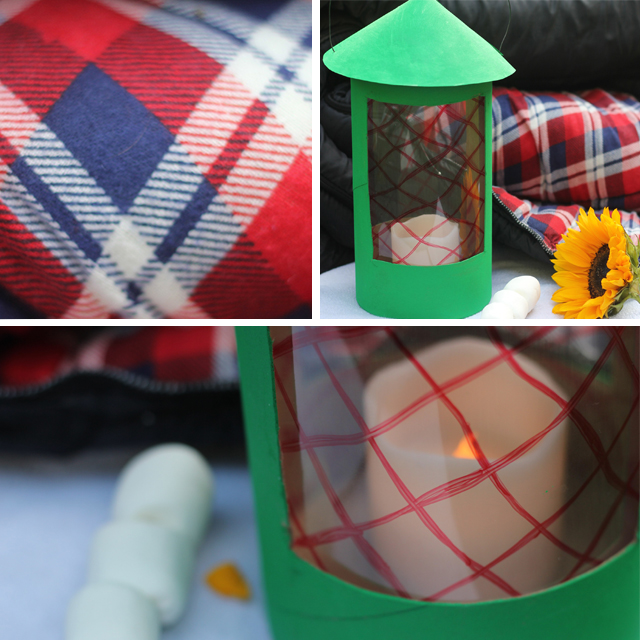
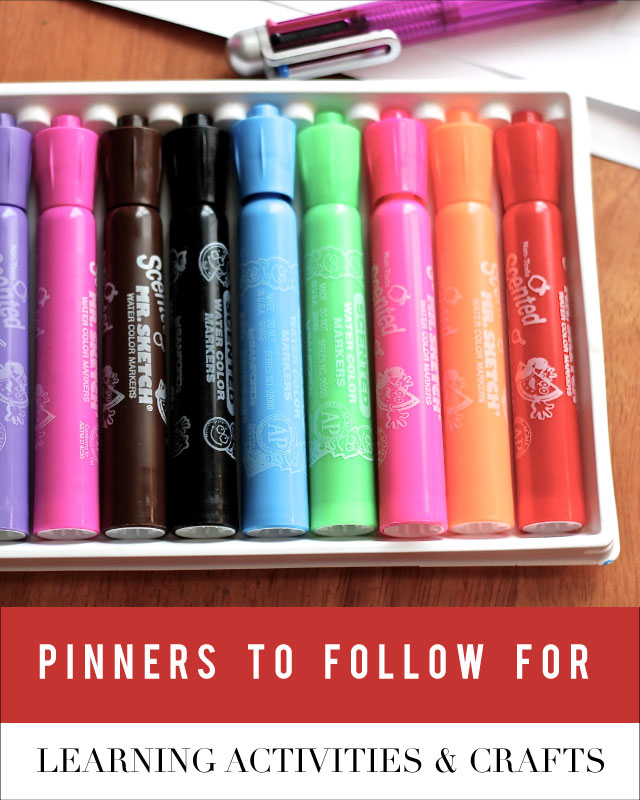
5. Cut a letter-sized transparency in half. With a permanent marker, doodle your design. Remember that the light will shine through these two panels so color to your heart's desire. Consider even making shapes to create special shadows on your tent wall.
6. Attach the transparency to the interior of the canister with invisible tape.
7. With double-sided tape or a hot glue gun, attach you candle to the bottom of the canister. *If your candle has an on/off switch at the bottom, cut out a small hole to reach the switch before gluing into place.
7. String wire or rope through the holes punched on the canister and through the cone roof.
The warmth of the candlelight makes a charmed evening feel like one of the best of childhood.
The kids are excited to use theirs inside and outside. We haven't yet done an overnight in the tent (outside), but these upcycled camping lanterns might be the inspiration we need to stay brave in the dark.
We've had such a blast sharing these creations with you throughout the summer, and there's still more to enjoy! Join in next Wednesday for another great Endless Summer Project! Here's the entire list in case you missed them:
- Upcycled Camping Lanterns on Pars Caeli
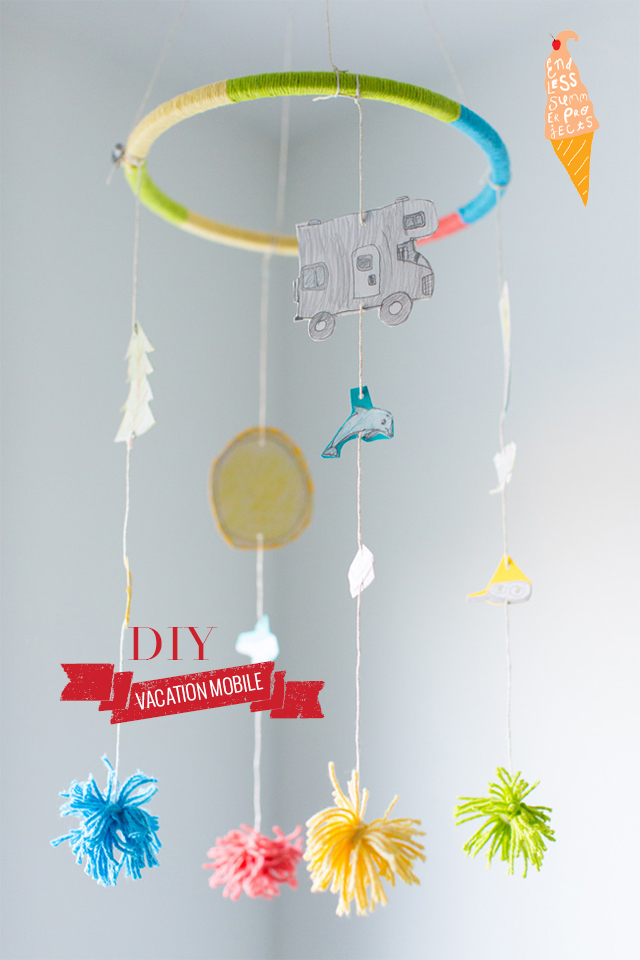
- Vacation mobile on Classic Play
- Outdoor cooking with kids from Lulu the Baker
- Screen-printed tees from This Heart of Mine
- Firework tablecloth on Alexandra Hedin
- 6 water balloon games from Pars Caeli
- DIY stilts and a backyard circus on Classic Play
- Mid-century modern birdfeeders on Lulu the Baker
- Collapsible cardboard playhouses from This Heart of Mine
- Scavenger hunt printables on Alexandra Hedin
- Large-scale wall art for kids on Pars Caeli
- Printable summer banner on Classic Play
Here's to the last glorious weeks of summer, friends!
xoxo, MJ


