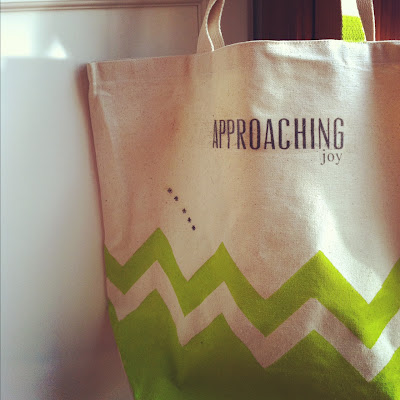
A tote with a touch of neon/chevron + DIY
I go through phases with patterns. When my eye is attracted to one, it subconsciously finds its way into a lot of my design at home and work.
I've got a bad case of chevron brain lately. The energy of the geometry and boldness of line makes me want to run - jumping - into summer.
Here's a DIY on how to make your own chevron goodness.

You'll need a canvas tote, masking/blue tape, fabric paint, paintbrush, iron, and your design on iron-on paper*. Iron-ons are so fun, and you can transfer any image/text onto fabric with them. The style of paper I used required me to reverse the image before printing. Just follow the instructions on whatever style paper you use (some need mirror image, some do not).
Make your chevron with masking tape (remember that the paint will go in the space not covered with tape). I learned the hard way that I need to cut clean edges for each piece to keep the paint lines crisp.
Iron on your design, using your hottest, no-steam setting.
**As a first-time fancy crafter (I am usually such a mess), it took me a few tries to get photos that made sense. And I, of course, ironed the letters on the wrong side, making the entire graphic melt onto my iron. Oops. Thank goodness for nearby hotpads to clean the surface pronto.
It felt so good to see the paper peeling away to reveal JOY underneath.

Using the foam brush, I painted on the lime green being careful along the tape edges. Oh, the satisfaction of removing the masking tape and seeing the grand reveal of a crisp, clean line.
And, that's it.

I use totes for everything...grocery store, library, farmer's market, storage, soccer gear, swimming equipment...you name it. And with this crafty addition you can brand away.
Happy creating, friends.
XOXO, MJ