Posts tagged make it mondays
Make It: Vinyl Letter Cards

Hiya, friends!! How are you? I'm still in a bit of a fog from an active weekend of sports, spring cleaning, and one of my very favorite places... Lake Michigan. The Lake is a fabulous source of renewal for me amidst this land-locked farmland (which I also love).

Friday night left me a few moments to craft and create, and today I'm sharing a super easy DIY with you! I picked up some vinyl letters from Michael's during a great sale - and in one of my fave fonts, Helvetica - and I thought they'd be perfect for the packages headed out to the great ladies of the For the Love of Blogging series.

PC_vinyllettercards.jpg

I kept the text simple to accentuate the fun of thick, vinyl letters.

PC_vinyl2.jpg
IMG_1826.JPG
IMG_1827.JPG
IMG_1828.JPG

Super easy, full of wit. Just my style.

I can't wait to send these on their way! .

Join me back tomorrow for a very special Tuesday post, inspired by the awesome Ann and her fabulous new series.

Let's get our game faces on for a week of big, big joy.

xoxo, MJ

P.S. A little later this week, I'll be showing you what else is in the mail for these wise women!!

Make It Monday: Herringbone Tray
PC_makeitmondaytray4.jpg

Happy Monday, friends!! How was the weekend? We hung around and raked leaves, watched some football, and handled some crafting, too. As y'all know, I'm a great adorer of autumn (yo, Instagram friends are you tired of my leaf photos yet?), and I've been looking for ways to get my indoor spaces decked in color, too, as the leaves now begin to shed their brilliance and Halloween is coming right around the corner.

I don't do spooky or the darkness of Halloween, but I was inspired by the shapes and lines of Landee See, Landee Do's holiday post. And I thought it'd be fun to transform a great tray that I've had for a while and DIY it up.

PC_Makeitmonday.jpg

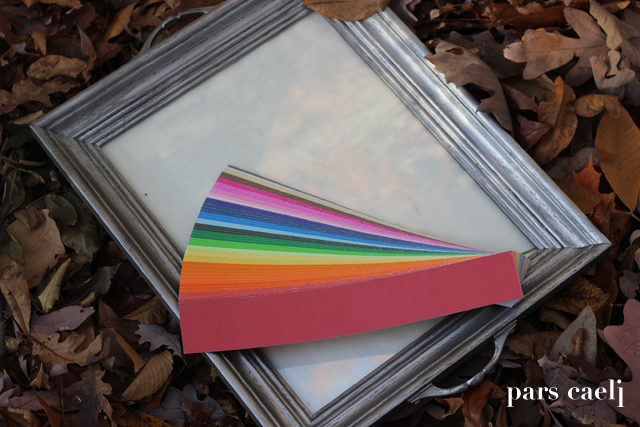
Here's what I used. This great tray was a DIY present from a dear friend for our wedding. Chris converted a large frame into tray through handles and paint. I added some great colored cardstock in complimentary Halloween shades of orange, black, white, and gray. And pulled out the paper cutter and some glue!

PC_makeitmondaytray.jpg

Herringbone has been on the brain lately as I see fall fashions appearing in stores and catalogs. It's a simple geometric pattern that my daughters loved putting together with me.

PC_makeitmondaytray1.jpg
PC_makeitmondaytray3.jpg

I love the great graphic quality, and it's the perfect perch for the growing mounds of mini pumpkins and gourds we're accumulating.

I'm also planning on mounding it up with candy (way more than pictured here) for our adorable Trick or Treaters next week!

PC_makeitmondaytray5.jpg

How do you deck your house for Halloween? 

XOXO, MJ

Make It Monday: Enjoy!

Hi friends! Happy Thanksgiving to all my Canadian friends and a good Columbus day to my American buddies. Make It Monday is taking a holiday today because frankly I had a fun-filled fall weekend that offered no time for my project in the wings.Hope to show it to you soon!

One week from today I'll be posting some beautiful DIY projects. Won't you join us in the fun?? We love new friends.

See you back here tomorrow for something simple and so good you'll want to pin it...to your forehead.

XOXO, MJ

Make It Monday: DIY Date

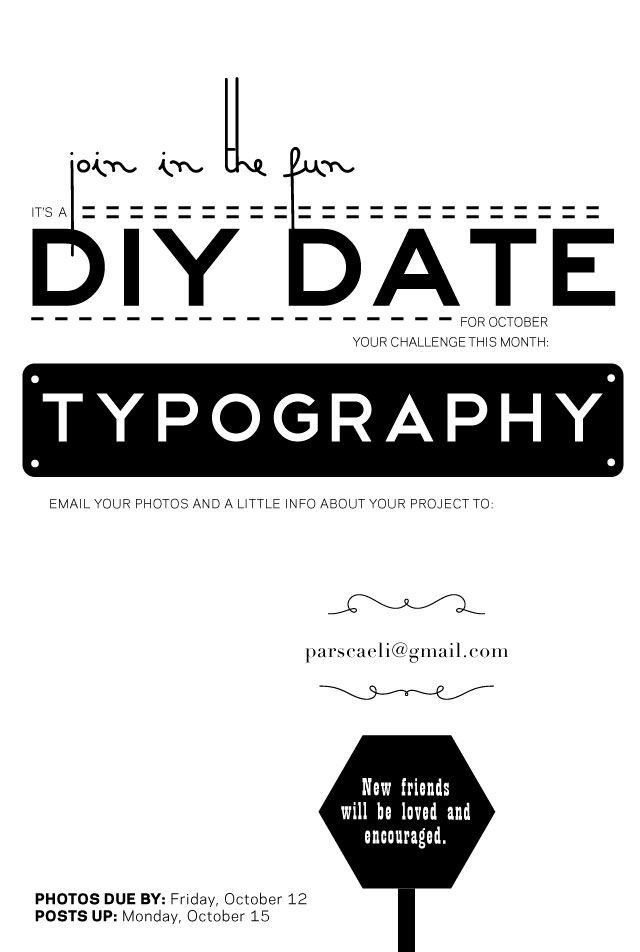
Happy Monday, friends! Can you believe we have just one more Monday left in September? I have something really fun to share with you all for Make it Monday!!

This is cordially for you (fellow bloggers, artsy crafty friends, skilled readers who want to give it a go):

What will you do with letters or numbers or ornaments? Keep in mind, this DIY can be electronic or printed/created as an object (have those cardboard letters at Michael's been calling your name, too?) or a framed print.

We've had some great supplies to work with these past few months! September was all about sharing the love. Check out the craft kits we created for the children of St. Jude's Research Hospital. In August we came up with some stylin' projects out of beads, and Louise, to celebrate her birthday, challenged us to give our projects to someone. Our first DIY date included washi tape and an experiment for me (that ended well).

Need some inspiration for this typography DIY? Check out these Pinterest boards:

I really hope you'll consider crafting something with us. It's all about having fun along the way. Reluctant new friends, we want you, too!!

XOXO, MJ

Something new! Make It Mondays


Well, hello, friends! How was the weekend? We were busy bees over here, and I'm excited to welcome you to a new Pars Caeli feature, Make It Mondays!!

Every Monday we'll kick off the week with a fun project for your home, your children, yourself, or something else magical. You then have the whole week and weekend to find some time to fit the fun into your schedule!

Why the new addition? Three simple reasons: 1.You beautiful readers have eaten up the DIY posts I've featured here and there on the blog. 2. I'm always looking for ways that this webhome can be more helpful to your life outside of cyberspace (there is still one out there, right?). 3. I can't pass up an opportunity for alliteration wherever I can find it. :)

So, on with the fun...
I carved out time this weekend, between football games and birthday parties, for some prep of our St. Jude DIY date with other wonderful blogger friends. You and I have until Wednesday to submit pictures to Louise. Special thanks to Paige(who is right now living it up in NYC for New York Fashion Week!!) for thinking up this crafty goodness. To sum it up, we're all making kits for the Happy Craft Cart of St. Jude's Research Hospital. These baggies will contain the supplies needed to make a simple craft and lift a child's spirit in the process.

I knew that I wanted to grab my kiddos and get them involved in the creation of these bags. I've started a  Pinterest board for anyone who wants some ideas (go, go visit!!). Introducing my 7-year old to Pinterest was a trip. She's hooked.

We were blown away by a few crafts by Minieco, and we decided to give them a go. Have you seen her photos and crafts(wo)manship? Outstanding!!

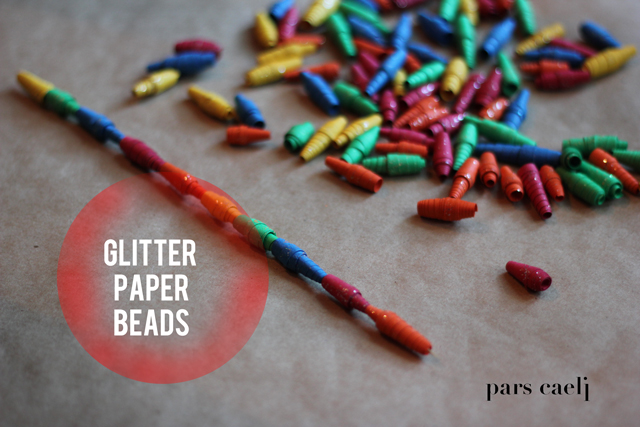
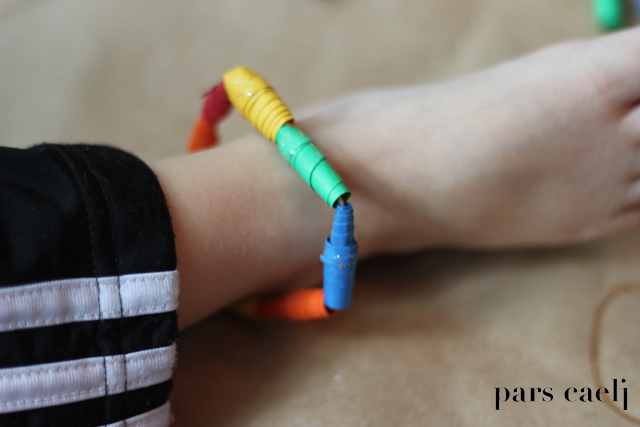
Our first batch of Happy Cart Crafts will be baggies of these glitter paper beads. Some of the kits will have the beads already made so that younger artists (under 7) will still feel confident in their results, and other kits will have the paper and glittler glue needed to make it all from scratch!
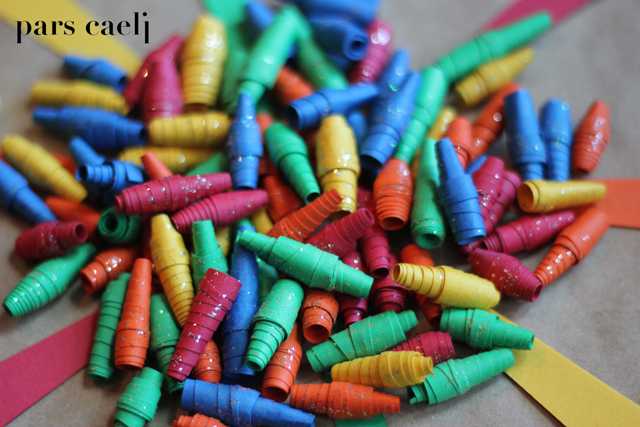
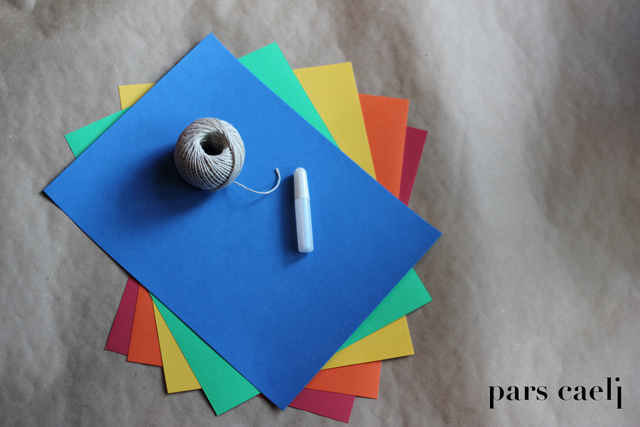
This is an incredibly budget-friendly (slightly time intensive) craft that all three of my children enjoyed. Here's what you need:

  • Paper (we chose rainbow and only used one piece of each color paper to make all the beads here)
  • Scissors or paper cutter (I bought my Xacto cutter many years ago, and it comes in handy for these sorts of projects)
  • Glitter glue (really, any glue is fine, but glitter makes everything better, right?)
  • Skewer (you could also use a pencil or anything with a small circumference to wrap the paper)
  • String or twine for necklace/bracelet/anklet creations
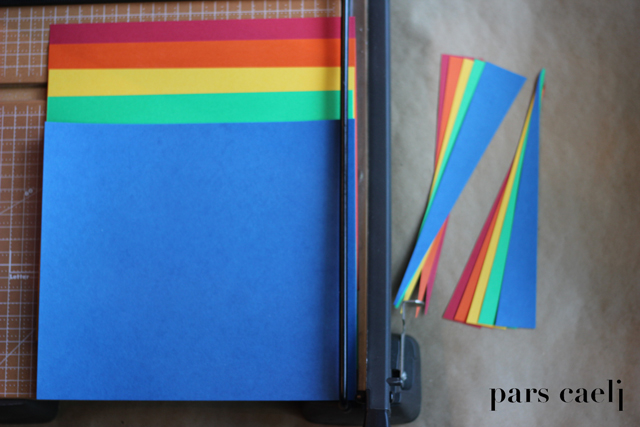
First step? Cut isoceles (ish) triangles out of your paper. Ours were about an inch at the thick end.

Next, begin with the thick end and tightly (the key!) wind the entire triangle around the skewer. We made different shapes by doing this. Some beads were exactly symmetrical, some looked more like cones or party hats, and others looked like a wobbly top.
As you get close to the end of the wrapped paper, squirt a dollop of glitter glue on the front and back of the end tail and graciously smear it all over the end and the rest of the bead. This will help secure the tight wrap and spread the glitter around the whole bead.

Once the bead is secured, carefully remove it from the skewer and let it dry for a few minutes before crafting further. We spent an evening making all our beads and the next afternoon making accessories out of them.

My 7-year old REALLY got into this project. She's a talky crafter so I had the pleasure of hearing her elaborate on how good she felt creating something she knew would make other children–children who really needed it–happy. She alone made half the beads, and she made me very proud. Again.

She's anxious to make more Happy Cart Crafts, and we'll be sharing those with you, too! Beads like these work well when made from magazines, too. Maybe you and/or your kiddos would like to give them a try?!
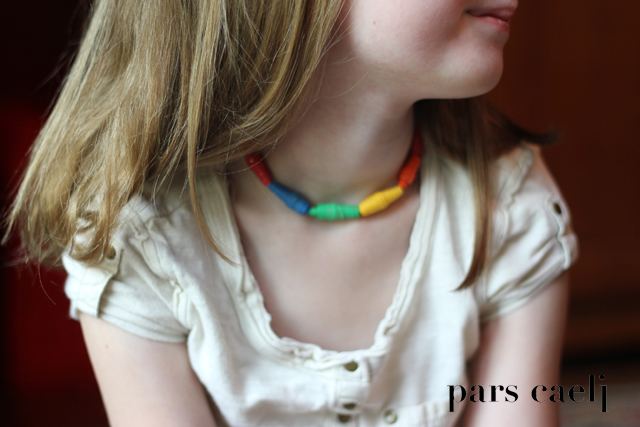
And because little brothers like to get in on everything, here's little L's anklet.Thanks for stopping in on Make It Monday! It's gonna be a great week, friends.
XOXO, MJ