I cannot believe it. Here we are at my last Endless Summer Projects! We've been planning these and posting them for so many weeks now, that I can't believe we're at the finish line already. And that feeling of quick endings is all around us as we squeeze the literal juice out of the remaining two weeks of summer.
In our house, August brings the start of school preempted by one of our favorite (made up) holidays, Siblings Day! To foster great relationships and celebrate the special people we have right around us, our family indulges in a special dinner, a lasting craft, silly games, some storytelling of great memories, and silly pictures together.
My children are 8,6, and 3, and although rather close in age, their ability levels and interests can seem light years apart at times. Lots of "he's not old enough" and "she's too big" get thrown around in conversation. I wanted a way for everyone to see each other on a level playing field... So we spent some time going through baby pictures as a family. Each sibling heard stories of the other sister or brother and their habits as babies, the toys they loved, the ridiculous noises and first words they said.
And each one selected a baby photo of their brother and/or sister to hang in their rooms. Sometimes it's good to remember that your bossy older sister was once an adorable baby, too. And that annoying little brother, well, he was super huggable with those pudgy cheeks.
Once we had our photos selected and printed, we were ready to get to work.
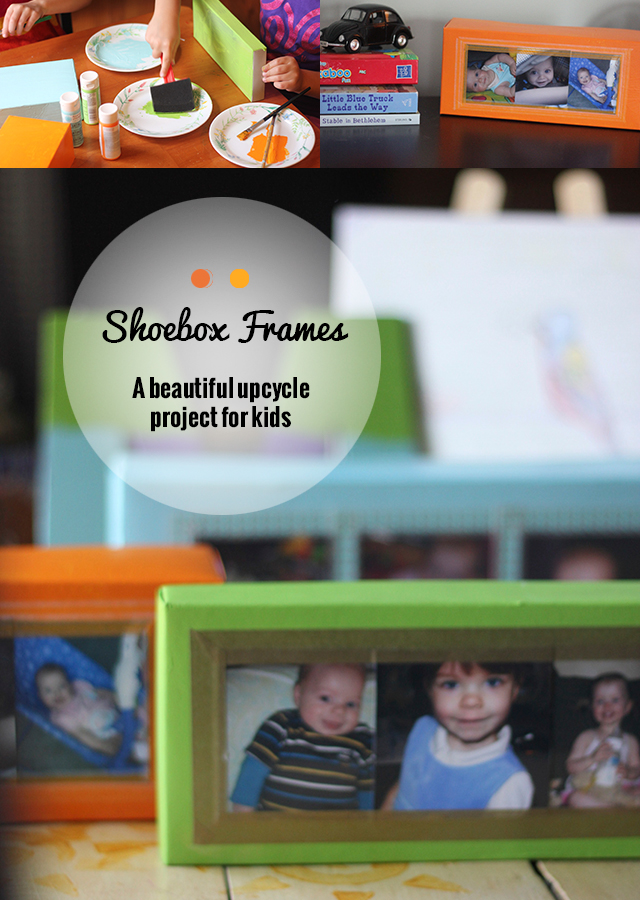
Wanna make some, too? Super simple supplies for this one: sturdy shoeboxes, quality paint, brushes, photographs, scissors, and washi tape
My daughters picked the box lids, and my son wanted the box bottom, (and either side can turn out quite nicely)! Have children paint the boxes, likey 2-3 coats, depending on the coverage.
Once the box lid is completely covered in paint, assist your children in trimming the baby photos to all the same size. For the size boxes we had, I trimmed the photos to 3" x 3".
Line up photographs on the long flat surface of the box or box lid, and carefully adhere to the box with washi tape. I also glued the photos onto the boxes to insure that the washi tape would have some assistance in keeping the pictures in place.
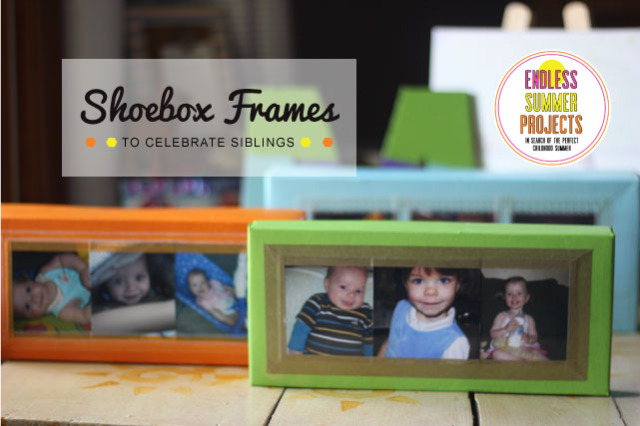
Finished boxes make cute photo bricks on dresser and shelves.
Add fun washi tape patterns to add some visual interest to your frame.
And don't forget to find a spot on the wall to show off your new creation.
Happy crafting, friends! Thanks so much for a fabulous summer of projects.
We'll be back next week with the grand finale post from Jennifer. In the meantime, try these other projects for the waning days of summer:
Mosaic Stepping Stones DIY by Lulu the Baker
Weeknight Barbecue by Alexandra Hedin
Sharpie Dyed Tee Shirts by Pars Caeli
Mini Masterpieces by Lulu the Baker
Bubble Painting by Alexandra Hedin
Friendship Charm Bracelets by Classic Play
Shaving Cream Marbelized Paper by Lulu the Baker
Spray Paint Tablecloth by Alexandra Hedin
xoxo, MJ


